Hey there! As a supplier of centrifugal pumps, I've seen firsthand how crucial it is to install these pumps correctly. A proper installation not only ensures the pump operates at its best but also extends its lifespan. In this blog, I'll walk you through the steps to install a centrifugal pump correctly.
Pre - installation Checks
Before you even start the installation process, there are a few things you need to do. First off, check the pump and all its components for any damage that might have occurred during shipping. Look for cracks, dents, or any signs of wear and tear. If you find anything, contact us right away. We'll sort it out for you.
Next, make sure you've got all the necessary tools and materials on hand. You'll typically need wrenches, a level, a torque wrench, gaskets, and bolts. It's always better to have everything ready before you start, so you don't have to run around looking for tools halfway through the installation.
Also, take a good look at the installation site. The area should be clean, dry, and well - ventilated. It needs to be large enough to accommodate the pump and provide easy access for maintenance. And make sure the surface where the pump will be mounted is flat and level. You can use a spirit level to check this.
Mounting the Pump
Once you've done all the pre - installation checks, it's time to mount the pump. Start by positioning the pump on the foundation or mounting surface. Use the mounting holes on the pump base as a guide. Place the pump in the desired location and align it properly.
Now, insert the bolts through the mounting holes in the pump base and into the holes in the foundation. Don't tighten the bolts fully just yet. You'll need to make some final adjustments first.
Use a level to ensure the pump is perfectly horizontal. If it's not, you can use shims to adjust the height of one side of the pump until it's level. Once the pump is level, gradually tighten the bolts in a criss - cross pattern. This helps to distribute the pressure evenly and prevents the pump from warping. Use a torque wrench to tighten the bolts to the manufacturer's recommended torque value. Over - tightening can damage the pump, and under - tightening can cause the pump to vibrate and become loose over time.
Connecting the Piping
After mounting the pump, it's time to connect the piping. First, you'll need to connect the suction pipe. The suction pipe should be as short and straight as possible. Avoid using too many bends or elbows in the suction line, as this can create unnecessary resistance and reduce the pump's efficiency.
When connecting the suction pipe, make sure to use the appropriate gaskets to prevent leaks. Tighten the flange bolts evenly to ensure a good seal. You can use a sealant on the gaskets for added protection against leaks.
Next, connect the discharge pipe. The discharge pipe should be sized correctly to handle the flow rate and pressure of the pump. Just like with the suction pipe, use gaskets and tighten the flange bolts evenly.
It's also important to install isolation valves in both the suction and discharge lines. These valves allow you to shut off the flow of fluid to the pump for maintenance or repair without having to shut down the entire system.
Aligning the Pump and Motor
Most centrifugal pumps are driven by an electric motor. Proper alignment between the pump and the motor is crucial for the smooth operation of the pump. Misalignment can cause excessive vibration, premature wear of the bearings, and even damage to the pump and motor shafts.
There are a few different methods to align the pump and motor. One common method is using a dial indicator. This tool measures the amount of misalignment between the pump and motor shafts.
First, mount the dial indicator on the motor shaft and position the probe against the pump shaft. Rotate the shafts slowly and take readings at different points around the circumference. Based on these readings, you can make adjustments to the motor's position. You can use shims to adjust the height and move the motor horizontally or vertically to achieve proper alignment.
Another method is using a laser alignment tool. This is a more advanced and accurate way of aligning the pump and motor. It uses a laser beam to measure the alignment and provides real - time feedback on the adjustments needed.
Electrical Connection
Once the pump and motor are aligned, it's time to make the electrical connection. Before you start, make sure the power supply is turned off. This is a safety precaution to prevent electric shock.
Check the electrical specifications of the pump and motor. You'll need to connect the motor to the appropriate power source. Follow the wiring diagram provided by the manufacturer. Make sure all the connections are secure and insulated properly.
It's also a good idea to install a motor starter and overload protection device. The motor starter helps to start and stop the motor smoothly, while the overload protection device protects the motor from damage due to over - current.
Priming the Pump
Before you start the pump for the first time, you'll need to prime it. Priming is the process of filling the pump and suction line with the fluid that the pump will be pumping. This is necessary because centrifugal pumps rely on the presence of fluid to create a vacuum and start the pumping action.
To prime the pump, first, close the discharge valve. Then, open the priming port or valve on the pump and fill the pump and suction line with the fluid. You can use a funnel or a priming pump to do this. Once the pump is filled, close the priming port or valve.
Starting the Pump
Now that everything is set up, it's time to start the pump. First, make sure all the valves are in the correct position. The suction valve should be fully open, and the discharge valve should be partially open.
Turn on the power supply. The pump should start to run. Listen for any unusual noises or vibrations. If you hear anything strange, stop the pump immediately and check for problems.
Gradually open the discharge valve until the pump reaches the desired flow rate and pressure. Monitor the pump's performance closely during the first few hours of operation. Check the temperature of the motor and the pump, and make sure the flow rate and pressure are stable.
Maintenance Tips
After the pump is up and running, regular maintenance is essential to keep it in good condition. Here are some maintenance tips:
- Check the pump and motor regularly for any signs of wear or damage. Look for leaks, loose bolts, or abnormal vibrations.
- Lubricate the bearings as recommended by the manufacturer. This helps to reduce friction and extend the life of the bearings.
- Clean the pump and the surrounding area regularly to prevent the buildup of dirt and debris.
- Replace the gaskets and seals when they start to show signs of wear. This helps to prevent leaks.
Types of Centrifugal Pumps
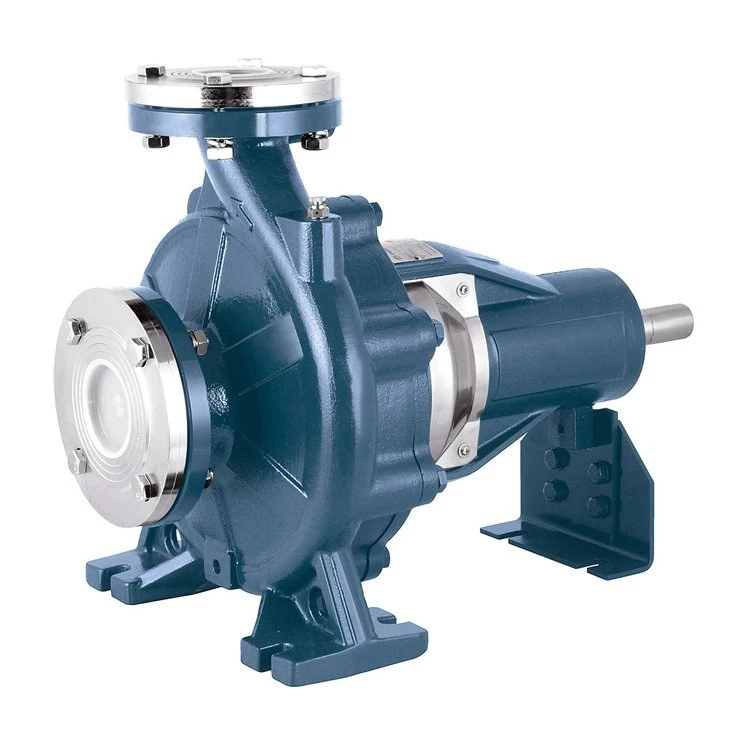
We offer a wide range of centrifugal pumps to meet different needs. For example, we have the End Suction Centrifugal Pump, which is commonly used in many industrial and commercial applications. It's simple in design and easy to install and maintain.
Our Single Stage Double - Suction Centrifugal Pump is ideal for applications that require high flow rates and moderate pressures. It's more efficient and can handle larger volumes of fluid.
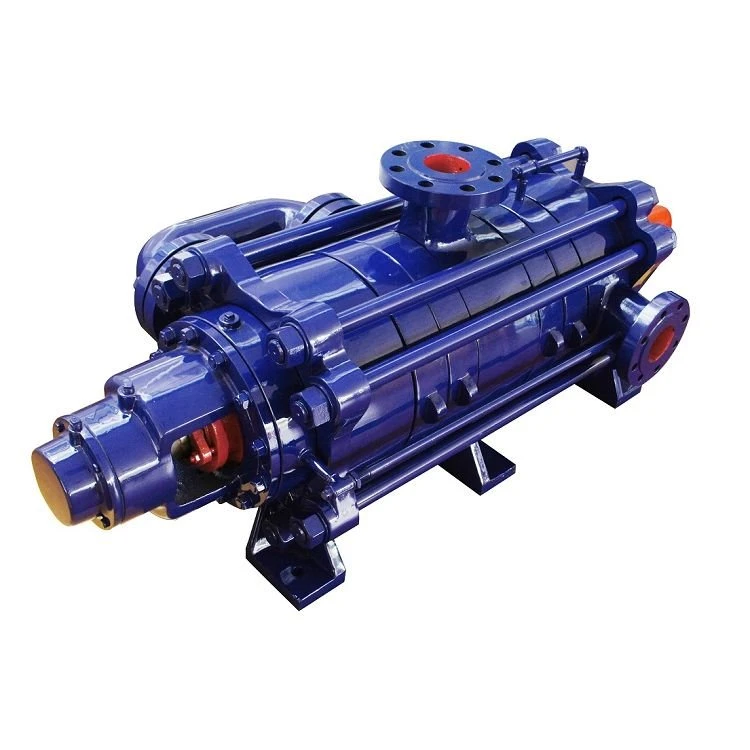
And if you're in the mining industry, our Mine Multistage Centrifugal Pump is a great choice. It's designed to handle the tough conditions in mines and can pump water and other fluids over long distances.
Contact Us for Purchase
If you're interested in purchasing a centrifugal pump or need more information about installation and maintenance, don't hesitate to reach out. We're here to help you find the right pump for your needs and ensure a smooth installation process.
References
- "Centrifugal Pump Handbook" by Igor J. Karassik et al.
- Manufacturer's installation and operation manuals for centrifugal pumps.