Hey there! As a supplier of Pump Control Panel, I've seen my fair share of tripped pump control panels. It can be a real headache when your pump suddenly stops working, but don't worry - I'm here to guide you through the process of resetting it.
Understanding Why a Pump Control Panel Trips
Before we jump into the reset process, it's important to understand why a control panel might trip in the first place. There are several common reasons:
Overload
One of the most frequent causes is an overload. This happens when the pump is trying to handle more work than it's designed for. Maybe there's a blockage in the pipes, or the system is demanding more water flow than the pump can provide. When this occurs, the control panel senses the excessive current and trips to protect the pump from damage.
Short Circuit
A short circuit can also cause the panel to trip. This is when the electrical current takes an unintended path, usually due to damaged wiring or a faulty component. If there's a short, the control panel will detect the abnormal current flow and shut down the system.
Ground Fault
A ground fault occurs when electricity leaks from the circuit to the ground. This can be caused by wet conditions, damaged insulation, or improper grounding. Just like with an overload or short circuit, the control panel will trip to prevent electrical hazards.
Safety First!
Before you start working on the control panel, make sure you take the necessary safety precautions. First, turn off the power supply to the panel. This will prevent you from getting electrocuted while you're working. You can usually find the main power switch near the control panel or in the electrical panel for your building.
Also, wear appropriate safety gear, such as insulated gloves and safety glasses. These will protect you from any potential electrical shocks or flying debris.
Step-by-Step Guide to Resetting a Tripped Pump Control Panel
Step 1: Locate the Control Panel
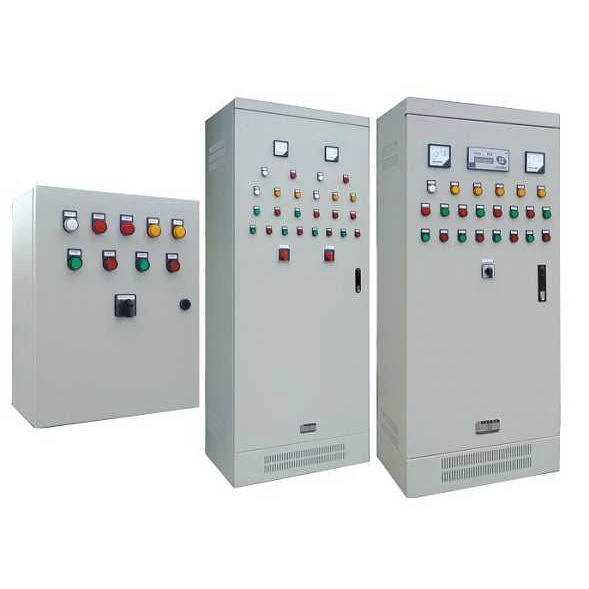
The first thing you need to do is find the pump control panel. It's usually located near the pump itself, either in a utility room, basement, or outside near the well or water source. Look for a metal box with a door that has electrical components inside.
Step 2: Inspect the Panel
Once you've located the control panel, open the door and take a look inside. Check for any obvious signs of damage, such as burnt wires, melted components, or loose connections. If you see any of these, it's best to call a professional electrician or a pump technician to fix the problem.
Step 3: Find the Circuit Breaker or Fuse
Most pump control panels have a circuit breaker or fuse that trips when there's a problem. The circuit breaker is usually a small switch that you can flip back and forth, while a fuse is a small glass or ceramic tube with a wire inside.
Look for the breaker or fuse that corresponds to the pump. It might be labeled "Pump" or have a specific number associated with it. If you're not sure which one it is, you can refer to the control panel's manual or look for a diagram on the inside of the panel door.
Step 4: Reset the Circuit Breaker or Replace the Fuse
If you have a circuit breaker, simply flip it back to the "On" position. Make sure you push it all the way over until you hear a click. This will reset the breaker and restore power to the pump.
If you have a fuse, you'll need to replace it. First, make sure the power is still off. Then, carefully remove the old fuse from its holder. You can use a pair of pliers to grip the fuse and pull it out. Take note of the amperage rating on the old fuse and make sure you get a new one with the same rating. Insert the new fuse into the holder and make sure it's seated properly.
Step 5: Check for Any Underlying Issues
After you've reset the breaker or replaced the fuse, turn the power back on to the control panel. But don't just assume everything is okay now. You need to check for any underlying issues that might have caused the panel to trip in the first place.
Check the pump for any signs of damage or blockages. Make sure the pipes are clear and there are no leaks. You might also want to check the pressure switch to make sure it's working correctly. If you're not sure how to do this, you can refer to the pump's manual or call a professional for help.
Step 6: Test the Pump
Once you've checked for any issues, it's time to test the pump. Turn on the water supply and see if the pump starts working. Listen for any strange noises or vibrations, and check the water flow to make sure it's normal. If the pump still doesn't work or if it trips again right away, there might be a more serious problem that needs to be addressed.
When to Call a Professional
While resetting a tripped pump control panel is usually a relatively simple process, there are times when it's best to call a professional. If you're not comfortable working with electricity or if you're not sure what you're doing, it's better to err on the side of caution and get help.
Also, if you've tried resetting the panel and the pump still doesn't work, or if it trips again right away, there might be a more serious problem with the pump or the control panel. A professional technician will have the tools and expertise to diagnose and fix the problem.
Conclusion
Resetting a tripped pump control panel can be a straightforward process if you follow the steps outlined above. Just remember to take the necessary safety precautions, check for any underlying issues, and test the pump after you've reset it.
If you're in the market for a new Pump Control Panel or need any assistance with your existing one, don't hesitate to reach out. We're here to help you keep your pump running smoothly. Whether you have questions about installation, maintenance, or troubleshooting, our team of experts is ready to provide you with the support you need. Contact us today to discuss your requirements and let's find the perfect solution for your pumping system.
References
- "Pump Control Panel Basics" - Industry Handbook
- "Electrical Safety Guidelines for Pump Systems" - National Electrical Code